

Every British business owner wants that polished first impression when clients step inside. Studies show that over 80 percent of visitors base their perception of professionalism on an entrance area. Taking control of your branding through a custom logo welcome mat does more than stop dirt at the door—it makes your brand unforgettable from the very start. Discover how to tailor every detail for a memorable, professional entrance that sets your business apart.
Table of Contents
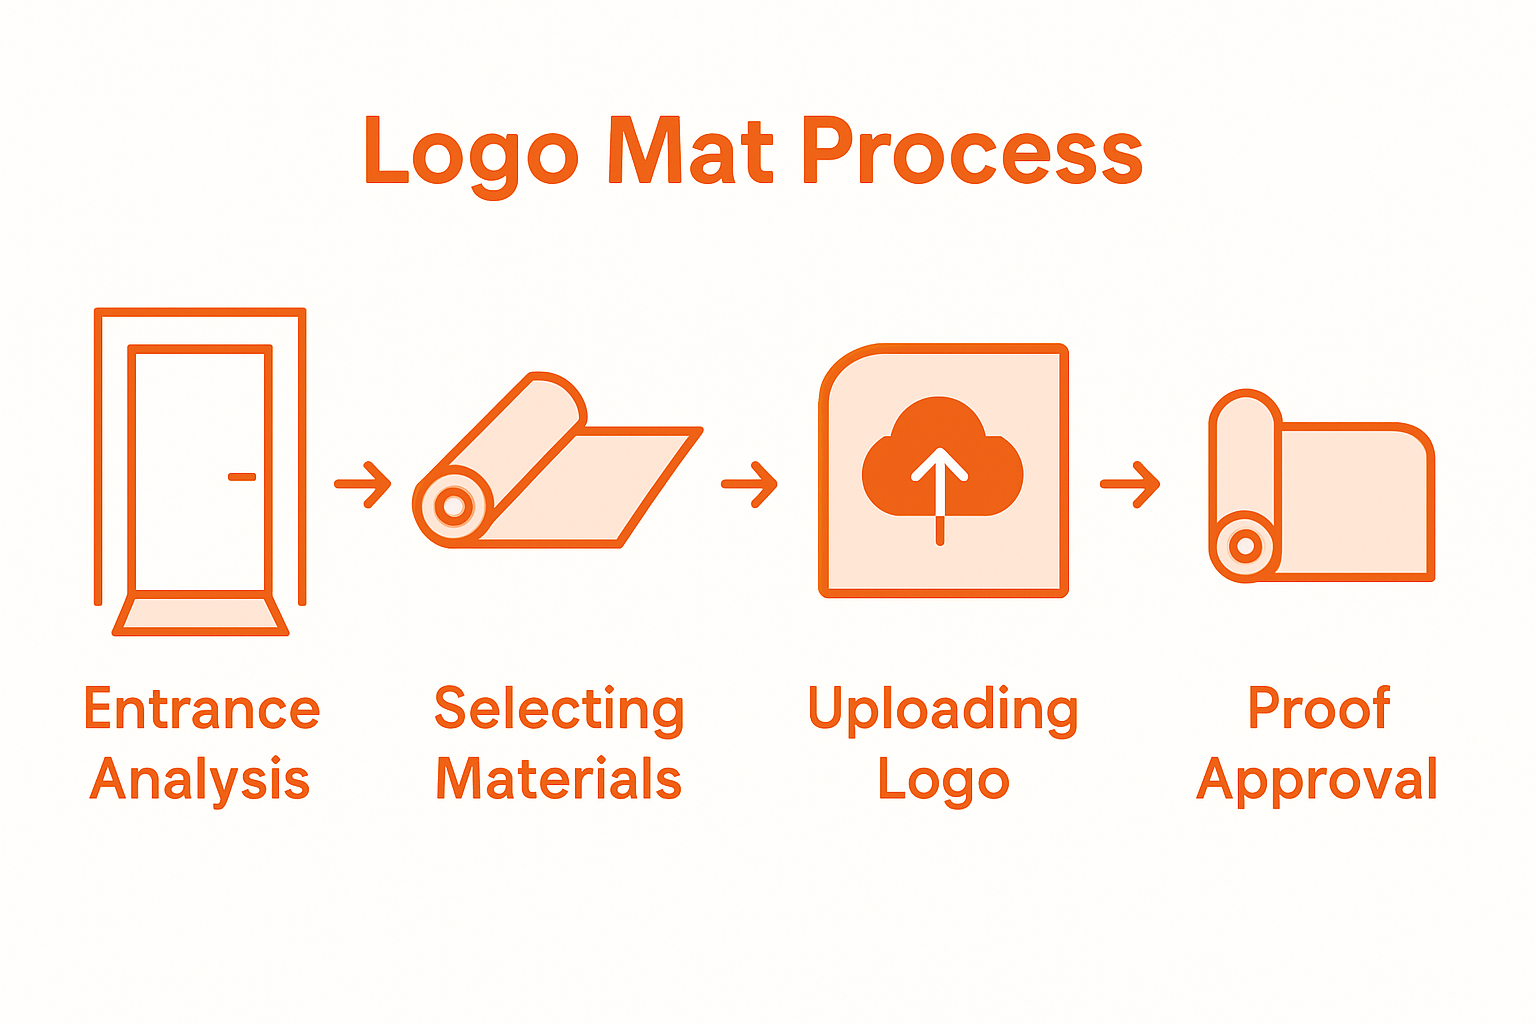
- Stage 1: Assess Entrance Requirements And Branding Goals
- Stage 2: Select Appropriate Mat Materials And Sizes
- Stage 3: Design And Upload Your Custom Logo Artwork
- Stage 4: Approve Digital Proofs And Place Your Order
- Stage 5: Install Mats And Verify Branding Quality
Quick Summary
| Essential Insight | Detailed Explanation |
|---|---|
| 1. Assess Entrance Space and Branding Goals | Evaluate your entrance area to align functional needs with your visual branding objectives before creating a welcome mat. |
| 2. Select Appropriate Materials and Sizes | Choose mat materials based on foot traffic, environmental conditions, and safety regulations to ensure performance and safety. |
| 3. Prepare High-Resolution Logo Artwork | Create a high-resolution, scalable logo file that adheres to your brand’s visual identity for optimal reproduction on the mat. |
| 4. Review Digital Proofs Diligently | Meticulously examine digital proofs for logo placement, colour accuracy, and dimensions before confirming your order. |
| 5. Install and Verify Mat Quality | Ensure the installed mat is correctly positioned and visually accurate, verifying it meets branding expectations under various conditions. |
Stage 1: Assess Entrance Requirements and Branding Goals
Assessing your entrance matting requirements and branding goals involves a strategic approach to creating a professional first impression for your business. This initial stage helps you design a custom logo welcome mat that not only looks exceptional but also communicates your brand’s unique identity.
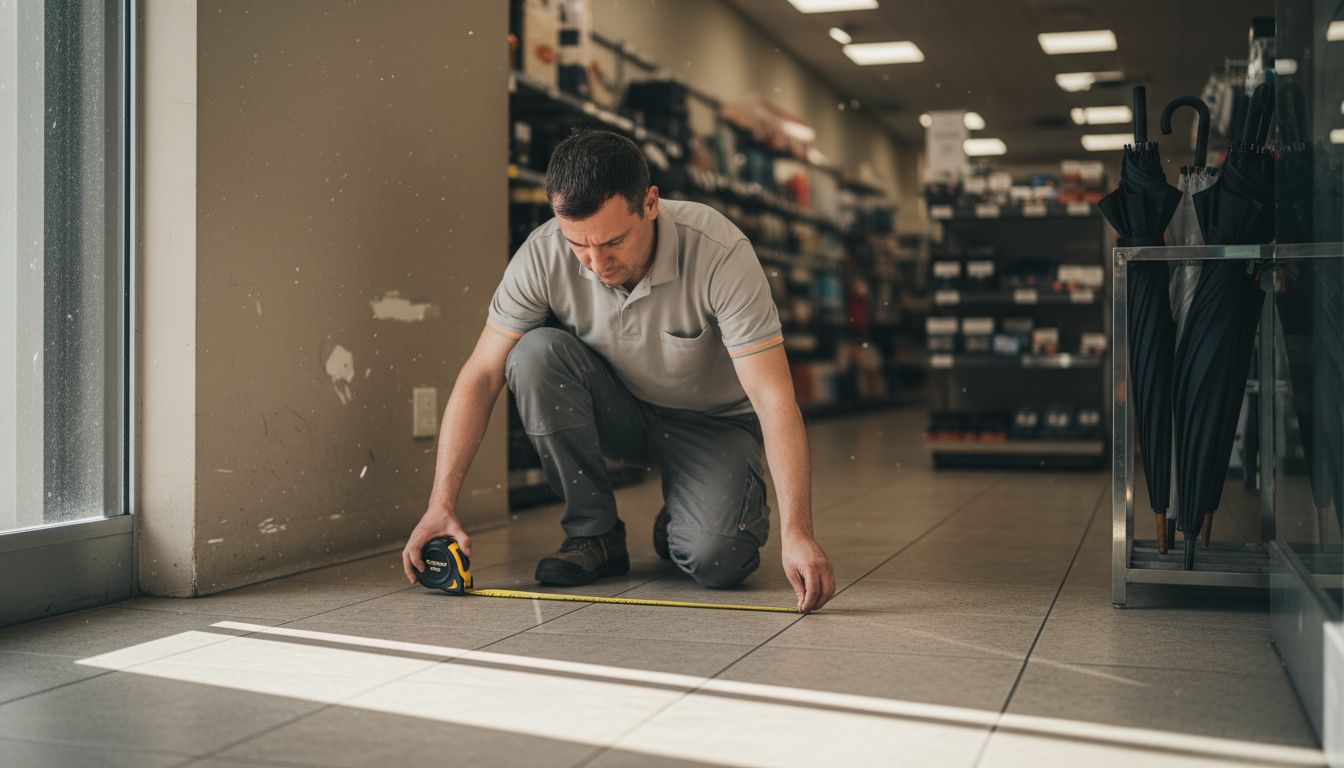
Begin by examining your physical entrance space and considering the specific functional needs alongside your visual branding objectives. The UK Government Communication Service guidelines recommend carefully evaluating how your logo and colour schemes will translate onto a welcome mat. This means measuring your entrance dimensions precisely measuring the available floor space and understanding how your logo will appear when scaled to mat size.
Carefully review your organisation’s brand style guide to ensure colour matching and logo placement meet your corporate standards. The Breckland Council’s Corporate Brand Guidelines provide an excellent template for considering logo proportions and clear space requirements. Pro tip: Always request a digital proof from your mat manufacturer to confirm how your branding will look before final production.
With these initial assessments complete, you will be ready to move forward to selecting the appropriate mat material and design that matches both your functional and aesthetic requirements.
Stage 2: Select Appropriate Mat Materials and Sizes
Selecting the right materials and sizes for your custom logo welcome mat involves strategic decision making that balances functionality, durability, and visual appeal. This critical step ensures your entrance matting not only represents your brand effectively but also performs exceptionally in real world conditions.
When considering mat materials, you must evaluate several key factors including foot traffic volume, environmental conditions, and safety requirements. Fire safety regulations demand careful material selection to ensure compliance with UK building standards. Different environments require different mat compositions - rubber mats work brilliantly for high moisture areas, while woven synthetic materials provide excellent durability for busy commercial entrances.
Size selection is equally crucial and requires precise measurement of your entrance space. Your mat should cover the primary walking area while leaving enough surrounding floor visible to maintain aesthetic balance. Research on traditional mat design techniques suggests considering not just width and length, but also pile height and material density. Pro tip: Always order a mat slightly smaller than your exact entrance measurement to allow for smooth installation and prevent tripping hazards.
With your materials and sizes carefully selected, you are now prepared to move forward to the next stage of designing your custom logo welcome mat.
Stage 3: Design and Upload Your Custom Logo Artwork
Designing and uploading your custom logo artwork is a critical step in creating a professional welcome mat that truly represents your brand’s visual identity. This stage requires careful attention to detail to ensure your logo translates perfectly onto the final product.
Start by preparing a high resolution digital file of your logo that meets professional design standards. Brand style guidelines recommend using vector graphics formats like SVG or AI, which allow for seamless scaling without losing image quality. Ensure your logo is created in a clear colour palette that matches your brand guidelines with sufficient contrast to be legible when printed on a mat surface.
When uploading your artwork, pay close attention to file specifications and resolution requirements. Most mat manufacturers prefer files with minimum resolution of 300 dots per inch to guarantee crisp image reproduction. Pro tip: Always request a digital proof before final production to confirm your logo appears exactly as you expect on the chosen mat material. Zoom in carefully and check that small text remains readable and graphic elements maintain their intended visual impact.
With your logo artwork prepared and uploaded, you are now ready to proceed to finalising your custom welcome mat order.
Stage 4: Approve Digital Proofs and Place Your Order
Approving digital proofs and finalising your custom logo welcome mat order represents the culmination of your careful design process. This critical stage ensures your mat meets all your branding and functional requirements before production begins.
Brand integrity guidelines emphasise the importance of meticulously reviewing digital proofs to guarantee accuracy. When reviewing your proof, examine every detail methodically including logo placement, colour reproduction, text clarity, and overall mat dimensions. Pay special attention to how your logo appears against the mat background ensuring sufficient contrast and legibility from different viewing angles.
The UK Government Communication Service’s branding recommendations suggest a systematic approach to proof approval. Carefully compare the digital proof against your original logo specifications checking for any potential distortions or colour variations. Pro tip: Use a calibrated screen and consider printing a physical copy to validate colour accuracy before giving final approval. Once you are completely satisfied with every aspect of the design verify all order details including quantity, size, and delivery specifications.
With your digital proof approved and order confirmed, you are now just days away from receiving your professionally crafted custom logo welcome mat.
Stage 5: Install Mats and Verify Branding Quality
Installing your new custom logo welcome mat and verifying its branding quality marks the final stage of your matting project. This crucial step ensures your mat not only looks professional but performs exactly as expected in your business environment.
UK Government Communication Service branding guidelines recommend a systematic approach to installation and brand verification. Begin by preparing the installation surface carefully ensuring it is clean dry and level. Position the mat with precise alignment checking that your logo appears centred and oriented correctly from multiple viewing angles. Pay special attention to the mat edges and corners to prevent potential tripping hazards or premature wear.
Corporate brand implementation standards emphasise the importance of thorough quality verification. Inspect your new mat under different lighting conditions to confirm colour accuracy and logo clarity. Pro tip: Take photographs of the installed mat from multiple perspectives to document its initial condition and ensure it meets your exact branding specifications. Check that the mat lies flat without rippling and that the printed logo maintains sharp edges and vibrant colour representation.
With your custom logo welcome mat successfully installed you have now completed a professional branding solution that will make a strong first impression on visitors and clients.
Elevate Your Business Entrance with Custom Logo Mats from Mats4U
Creating a strong first impression can be challenging when you need a durable, visually striking mat that truly represents your brand. The article highlights common challenges such as precise measurement, material selection for safety and longevity, and maintaining colour integrity in your logo design. At Mats4U, we understand these concerns and offer tailored solutions that make ordering your bespoke welcome mat straightforward and successful.
Our extensive range, including Front Back Door Mats and Cloakroom Mats, provides options designed to meet high foot traffic and specific environmental needs. With easy customisation, made-to-measure options, and expert support, we ensure your branding appears vibrant and professional from day one.

Discover our premium custom mats today at Mats4U and take the next step to impress visitors instantly. Get started now to benefit from our expert guidance and quality craftsmanship for a seamless branding solution you can trust.
Frequently Asked Questions
What are the main steps to order custom logo welcome mats for my business?
To order custom logo welcome mats, follow these key steps: assess your entrance requirements, select appropriate materials and sizes, design and upload your custom artwork, approve digital proofs, and then place your order. Ensure you measure your entrance space and follow your brand guidelines to make the process smooth.
How do I choose the right material for my custom logo welcome mat?
Select a mat material based on factors like foot traffic volume, environmental conditions, and safety regulations. For high moisture areas, opt for rubber, while woven synthetic materials are ideal for busy commercial entrances.
What specifications should I consider when uploading my logo for the mat?
Ensure your logo file is high-resolution, ideally in vector graphics format like SVG or AI, to maintain quality when scaled. Check that the logo matches your brand colours and has sufficient contrast for visibility on the mat surface.
How can I verify the quality of my welcome mat before finalising my order?
Approve digital proofs meticulously, checking logo placement, colour accuracy, and text clarity. Request a digital proof from the manufacturer and ensure that the mat dimensions align with your specifications before placing your final order.
What are the proper steps for installing my custom logo welcome mat?
Begin by cleaning and preparing the surface to ensure it is dry and level. Position the mat precisely, ensuring it is aligned correctly, and inspect it for tripping hazards or premature wear to guarantee both aesthetics and safety.
How can I ensure my custom logo mat maintains its branding quality over time?
After installation, regularly check the mat under different lighting conditions to confirm that the colours and logo remain clear. Keep the mat clean and inspect for wear to preserve its professional appearance and branding impact.


