


Temporary floor protection can make the difference between spotless floors and costly repairs. Many people focus on expensive coverings, yet common mistakes often start before the first mat hits the ground. Hardwood floors are actually more vulnerable to scratching and moisture damage than you might expect, demanding special attention right from the start. The real key is the hidden details few ever check. Miss those, and even the priciest materials will fail.
Table of Contents
- Step 1: Evaluate Your Floor Type And Conditions
- Step 2: Select Suitable Temporary Floor Protection Materials
- Step 3: Prepare The Area For Installation
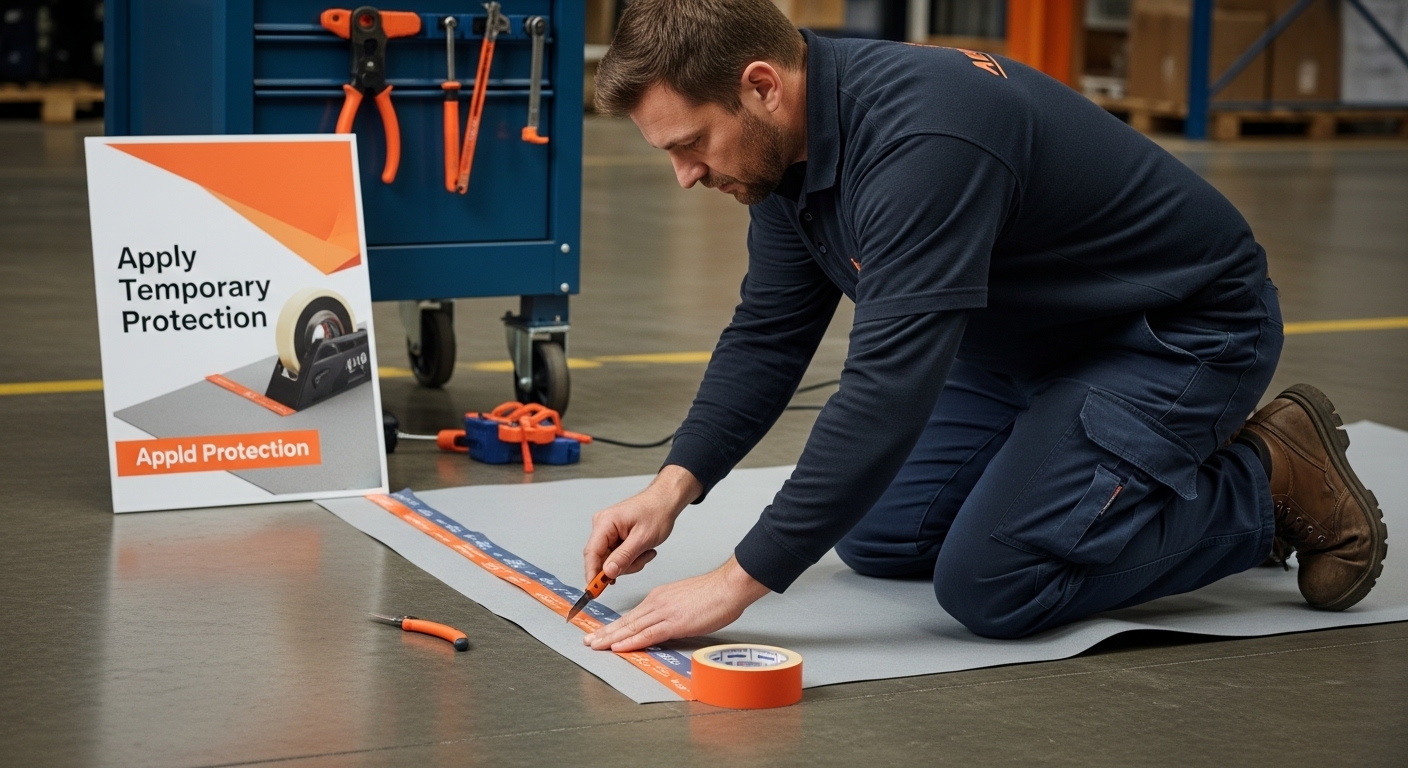
- Step 4: Apply Temporary Floor Protection Correctly
- Step 5: Verify The Installation And Perform Quality Checks
Quick Summary
| Key Point | Explanation |
|---|---|
| 1. Evaluate your floor type carefully | Assessing the specific floor material and conditions is essential for choosing appropriate protection measures. |
| 2. Select durable protective materials | The right temporary flooring solutions must be compatible with the environment and provide robustness against damage. |
| 3. Prepare the area thoroughly | A clean and dry surface ensures better adhesion and effectiveness of the protective materials during installation. |
| 4. Apply materials with precision | Proper application techniques guarantee complete coverage and prevent installation issues like air bubbles or wrinkles. |
| 5. Verify installation quality regularly | Conduct systematic checks on the protective covering to identify any damages or inconsistencies throughout the protection period. |
Step 1: Evaluate Your Floor Type and Conditions
Successful temporary floor protection begins with a comprehensive understanding of your specific floor environment. The initial evaluation stage is critical for selecting the most appropriate protective solutions that will safeguard your surfaces effectively.
Start by conducting a thorough visual and tactile assessment of your floor’s current condition. Different floor materials require distinct protection strategies. Hardwood floors, for instance, are more susceptible to scratching and moisture damage, while concrete surfaces might demand more robust temporary coverings. Examine the floor’s current state carefully looking for existing wear patterns, potential weak points, and areas of high traffic.
The assessment should include a detailed analysis of environmental factors that might impact floor protection. Temperature fluctuations, humidity levels, potential chemical exposure, and anticipated foot or machinery traffic all play significant roles in determining the right protective approach. Industrial settings like warehouses or construction sites will have markedly different requirements compared to office spaces or retail environments.
Measure the total square meterage of the area requiring protection, noting any irregular shapes or specific zones that might need customised solutions. Pay particular attention to high-risk areas such as entranceways, corridors, and workstations where floor damage is most likely to occur. Understand how different mat solutions can protect your specific floor type to make an informed decision.
Documentate your findings systematically. Create a detailed floor plan that includes:
- Current floor material type
- Existing wear and damage
- High traffic zones
- Potential environmental stress points
- Specific protection requirements
By meticulously evaluating your floor’s unique characteristics, you establish a solid foundation for selecting temporary floor protection that will effectively preserve your surfaces throughout various operational challenges.

Verification is straightforward. Your comprehensive assessment should provide clear insights into the specific protection needs, enabling you to move confidently to the next stage of selecting appropriate temporary floor covering solutions.
Step 2: Select Suitable Temporary Floor Protection Materials
Choosing the right temporary floor protection materials is a nuanced process that requires careful consideration of multiple factors. Your selection will directly impact the effectiveness of your floor preservation strategy, making this step crucial for maintaining surface integrity during construction, renovation, or high-traffic periods.
Durability and material compatibility form the cornerstone of effective floor protection. Different environments demand specific material characteristics. For industrial settings like warehouses or construction sites, heavy-duty materials such as reinforced corrugated plastic or multi-layered protective boards offer robust protection against heavy machinery and substantial foot traffic. Conversely, office or retail spaces might require thinner, more flexible materials that provide protection without compromising aesthetic appearance.
Consider the duration of protection needed when selecting materials. Short-term projects might benefit from disposable adhesive films or lightweight roll materials, while long-term protection requires more substantial solutions. Learn about specialized floor protection techniques for various environments to make an informed decision.
Material selection should also account for specific environmental challenges. Moisture-resistant materials are essential in areas prone to liquid spills or damp conditions. Look for products with water-repellent properties and anti-slip surfaces. Breathable materials prevent moisture trap and potential surface damage, which is particularly important for wooden or sensitive flooring types.
Prioritize materials that offer comprehensive protection. The ideal temporary floor covering should provide:
- Resistance to punctures and tears
- Protection against scratches and impact damage
- Easy installation and removal
- Compatibility with the underlying floor surface
- Minimal residue or adhesive transfer
Evaluate the cost-effectiveness of your chosen materials. While premium protective solutions might seem expensive initially, they can prevent significant repair or replacement expenses in the long term. Consider factors like reusability, ease of cleaning, and potential damage prevention when making your selection.
Verification of your material choice involves assessing its performance against your specific requirements. Test a small area first, observe how the material interacts with your floor surface, and ensure it provides the expected level of protection without causing unintended damage.
Step 3: Prepare the Area for Installation
Preparing the area for temporary floor protection is a critical stage that sets the foundation for successful installation. This comprehensive preparation ensures maximum effectiveness and longevity of your protective materials, preventing potential damage and ensuring optimal performance.
Thorough surface cleaning represents the first and most essential preparation step. Begin by completely clearing the area of furniture, equipment, and loose debris. Use industrial vacuum cleaners or professional sweeping equipment to remove dust, dirt, and small particles that could compromise the protective material’s adhesion. Pay special attention to corners, edges, and hard-to-reach areas where contaminants might accumulate.
Next, conduct a detailed surface inspection to identify any existing damage, uneven areas, or potential issues that could affect the temporary floor protection. Check for loose tiles, cracks, moisture spots, or surface irregularities. Addressing these potential problems before installation prevents future complications and ensures a smooth, stable base for your protective materials.
Our comprehensive guide offers insights into professional floor preparation techniques, which can help you achieve optimal results. Depending on your specific floor type, you might need specialized cleaning solutions or surface treatments. Hardwood floors require different preparation methods compared to concrete or ceramic surfaces.
Moisture management is crucial during area preparation. Use moisture meters to test surface humidity levels, especially in areas prone to dampness. Excess moisture can compromise the adhesion and effectiveness of temporary floor protection materials. If high moisture levels are detected, consider using dehumidifiers or allowing sufficient drying time before installation.
Essential preparation tools and materials include:
- Industrial vacuum cleaner
- Moisture meter
- Cleaning solutions appropriate for your floor type
- Protective gloves and safety equipment
- Microfibre cloths or lint-free cleaning materials
- Surface repair kit (for minor imperfections)
Temperature and environmental conditions also play a significant role in preparation. Ensure the area is at an appropriate temperature range recommended by the protective material manufacturer. Extreme temperatures can affect material performance and adhesion, potentially leading to premature failure.
The following table summarises essential tools and materials required for preparing the area before installing temporary floor protection, along with their purposes and any relevant notes.
| Tool/Material | Purpose | Notes |
|---|---|---|
| Industrial vacuum cleaner | Remove dust, dirt, and debris | Ensures clean surface for better adhesion |
| Moisture meter | Test surface humidity levels | Prevents adhesion issues due to excess moisture |
| Cleaning solutions | Clean floor according to material type | Use solutions suitable for specific floor |
| Protective gloves | Ensure safety during cleaning | Prevents irritation from cleaning agents |
| Microfibre cloths | Wipe and dry surfaces | Lint-free to avoid residue |
| Surface repair kit | Fix minor imperfections and damage | For repairing cracks or loose tiles |
| Safety equipment | Personal protection during preparation | Includes masks or eye protection where needed |
Verification of proper area preparation involves a systematic checklist. Confirm that the surface is completely clean, dry, and free from debris. Validate that any surface imperfections have been addressed and that the area meets the specific requirements of your chosen temporary floor protection materials.
Step 4: Apply Temporary Floor Protection Correctly
Applying temporary floor protection requires precision, patience, and a systematic approach. This critical stage determines the effectiveness of your protective strategy, ensuring complete surface coverage while preventing potential damage during installation.
Starting from one corner of the room is crucial for achieving uniform coverage. Unroll or lay down your chosen protective material gradually, maintaining consistent tension to eliminate air bubbles and wrinkles. Work methodically across the surface, using a smooth, firm motion to ensure the material adheres properly without creating unexpected folds or potential tripping hazards.
Depending on your selected material, different application techniques will be necessary. For adhesive-backed films, start by peeling a small section of the backing and carefully aligning the material with your predetermined starting point. Explore professional techniques for seamless floor protection installation to refine your approach.
Pay special attention to edges, corners, and areas around fixed installations like pillars or built-in furniture. These transition zones often require custom cutting or additional securing methods. Use precision cutting tools like utility knives or specialist floor protection trimmers to create clean, precise edges that prevent material bunching or incomplete coverage.
Consider using complementary securing techniques to enhance protection stability:
- Double-sided installation tape for smooth edges
- Protective corner guards for high-traffic intersections
- Overlap seams by at least 10 centimetres for comprehensive coverage
- Use weight or temporary adhesive to prevent material shifting
Moisture and temperature can significantly impact material performance. Apply protective coverings when room conditions are stable, typically between 10 and 24 degrees Celsius. Avoid installation during extreme humidity or temperature fluctuations that might compromise material adhesion or flexibility.
Verification involves a comprehensive visual and tactile inspection. Walk the entire protected surface, checking for any lifted edges, potential air pockets, or areas requiring additional securing. Confirm that the protective material lies completely flat, with no visible wrinkles or potential trip hazards. Test the material’s stability by applying gentle pressure and observing its response, ensuring it remains securely in place across different areas of the floor.
Step 5: Verify the Installation and Perform Quality Checks
Verification represents the crucial final stage of temporary floor protection implementation, ensuring that your meticulously planned protective strategy delivers optimal performance and comprehensive surface coverage. This step transforms your technical preparation into a reliable, functional solution that safeguards your flooring investment.
A systematic and thorough inspection is paramount for identifying potential vulnerabilities. Begin by conducting a comprehensive visual assessment of the entire protected surface. Walk the entire area methodically, examining every square metre for inconsistencies, potential weak points, or areas requiring additional attention. Look for subtle signs of improper installation such as edge lifting, unexpected wrinkles, or minute gaps that could compromise the protective material’s effectiveness.
Physical interaction with the installed protection provides critical insights into its stability and performance. Apply gentle pressure across different sections, testing the material’s adhesion and checking for unexpected movement. Explore professional verification techniques for floor protection installations to enhance your quality assessment skills.
Documentation plays a significant role in verification. Create a detailed inspection report that captures the current state of your temporary floor protection. Photograph key areas, noting any existing conditions or potential concerns. This documentation serves multiple purposes, providing a baseline for future comparisons and creating a record of your initial installation quality.
Key verification criteria include:
- Complete surface coverage without gaps
- Secure edge attachment
- No visible wrinkles or bubbles
- Consistent material tension
- Absence of potential tripping hazards
- Compatibility with surrounding environment
Temperature and humidity can significantly impact material performance, so conduct your verification under stable environmental conditions. Ideally, perform checks when room temperatures are consistent and humidity levels are moderate. This approach ensures that your assessment reflects the protection’s genuine performance characteristics.
Consider conducting periodic checks throughout the protection period. Temporary floor coverings can experience wear and degradation, especially in high-traffic areas. Regular inspections allow for proactive maintenance, enabling you to address potential issues before they escalate into significant problems.
Verification is successful when you can confidently confirm that the temporary floor protection meets all initial installation criteria. The protective material should appear seamless, stable, and fully integrated with the underlying surface, providing comprehensive protection against potential damage.
Below is a checklist table outlining the main criteria you should systematically verify to ensure temporary floor protection has been installed effectively and will provide reliable performance throughout the protection period.
| Verification Criterion | What to Check For | Why It Matters |
|---|---|---|
| Complete surface coverage | No gaps or exposed floor areas | Prevents damage from unprotected sections |
| Secure edge attachment | All edges firmly adhered, no lifting | Avoids tripping hazards and shifting |
| No wrinkles or bubbles | Flat, smooth surface throughout | Eliminates hazards and ensures durability |
| Consistent material tension | Evenness across all sections | Prevents premature wear or failure |
| Absence of trip hazards | No overlapping, raised seams, or bunching | Ensures occupant safety |
| Environmental compatibility | Appropriate for temperature and humidity levels | Maintains performance and adhesion over time |
Ready to Protect Your Floors? Stop Worrying About Damage in High Traffic Areas
If keeping your floors scratch-free, slip-resistant and presentable is always a challenge, especially during busy periods or building projects, you’re not alone. The article highlighted the frustration of dealing with scratches, uneven surfaces, and ineffective coverings when floors encounter heavy footfall or equipment. At Mats4U, we specialise in solving these exact pain points with custom-fit mats and innovative floor protection solutions for every industry. Our made-to-measure options mean you never settle for a one-size-fits-all approach.

Do not let another high-traffic season damage your valuable floors. See how our range of custom matting solutions can offer immediate, reliable protection that complements every environment. Explore practical matting advice or discover tips on maintaining floor coverings effortlessly. Visit Mats4U now and take the next step to secure your surfaces before the damage is done.
Frequently Asked Questions
What factors should I consider when evaluating my floor type for temporary protection?
When evaluating your floor type, consider the material (e.g., hardwood, concrete), existing wear and damage, high traffic zones, environmental factors, and the specific protection requirements for your floor. A thorough assessment is crucial for making the right selection.
What are the best materials for temporary floor protection in different environments?
The best materials depend on your specific environment. Heavy-duty options like reinforced corrugated plastic are ideal for industrial settings, while thinner, more flexible materials work well in office spaces. Consider durability, moisture resistance, and aesthetic appeal when making your choice.
How do I prepare the area before applying temporary floor protection?
Preparation involves cleaning the floor thoroughly to remove dust and debris, inspecting for existing damage, and managing moisture levels. Ensure the area is clear, dry, and meet the specific requirements of your chosen protective materials before installation.
How can I verify that my temporary floor protection has been applied correctly?
To verify correct application, conduct a detailed visual and tactile inspection, checking for complete coverage, secure edges, and absence of wrinkles or bubbles. Regular checks during the protection period can help identify potential issues early.


